How to Create Shade Structures for Hot Summer Backyards
How to Create Shade Structures for Hot Summer Backyards
Reading time: 14 minutes
It’s July 2026. The thermometer outside your back door reads 104°F (40°C), and your once-beloved backyard feels more like a solar furnace than a sanctuary. Sound familiar? You’re not alone. According to the National Oceanic and Atmospheric Administration (NOAA), the summer of 2025 ranked as the third hottest on record globally, and climate projections for 2026 suggest continued heat intensification across North America, Australia, and Southern Europe. More homeowners than ever are turning to backyard shade structures — not as a luxury, but as a genuine outdoor living necessity.
The good news? Creating effective shade doesn’t have to mean an expensive contractor visit or complicated engineering. Whether you’re working with a compact urban patio, a sprawling suburban lot, or a drought-tolerant desert landscape, there’s a smart, strategic shade solution that fits your space, budget, and aesthetic. Let’s build it together — step by step.
Table of Contents
- Why Shade Matters More Than Ever in 2026
- Types of Shade Structures: Choosing the Right Fit
- DIY vs. Professional Installation: Honest Cost Comparison
- Step-by-Step: Building Your Own Shade Structure
- Best Materials for Durability and UV Protection
- Real Backyard Transformations: Case Studies
- Common Challenges and How to Overcome Them
- Frequently Asked Questions
- Your Cool Backyard Blueprint: Next Steps
Why Shade Matters More Than Ever in 2026
Here’s the straight talk: outdoor heat exposure is no longer just an inconvenience — it’s a health risk. The World Health Organization reported in early 2026 that heat-related illnesses have increased by 23% over the past five years in temperate regions. Direct sun exposure on unshaded patios can elevate surface temperatures by 40–60°F above ambient air temperature, turning concrete and composite decking into literal hotplates.
Beyond health, there’s the energy equation. A well-designed backyard shade structure positioned strategically near windows and walls can reduce indoor cooling costs by up to 15–25%, according to the U.S. Department of Energy’s 2025 Home Energy Efficiency Report. That’s not just comfort — that’s money back in your pocket every billing cycle.
Think of your backyard shade project the same way you’d approach a business investment: measure the problem clearly, identify your resources, and deploy the right solution with precision. Let’s start by understanding what’s available.
Types of Shade Structures: Choosing the Right Fit
Not every shade solution works for every space. The secret is matching structure type to your specific backyard conditions — sun angle, wind exposure, available anchor points, and intended use. Here’s a practical breakdown of your primary options:
Permanent Shade Structures
Permanent structures offer the most robust protection and the highest return on investment if you plan to stay in your home long-term. They add measurable property value — the National Association of Realtors’ 2025 Outdoor Living Report found that covered outdoor spaces increased resale appeal for 68% of surveyed buyers.
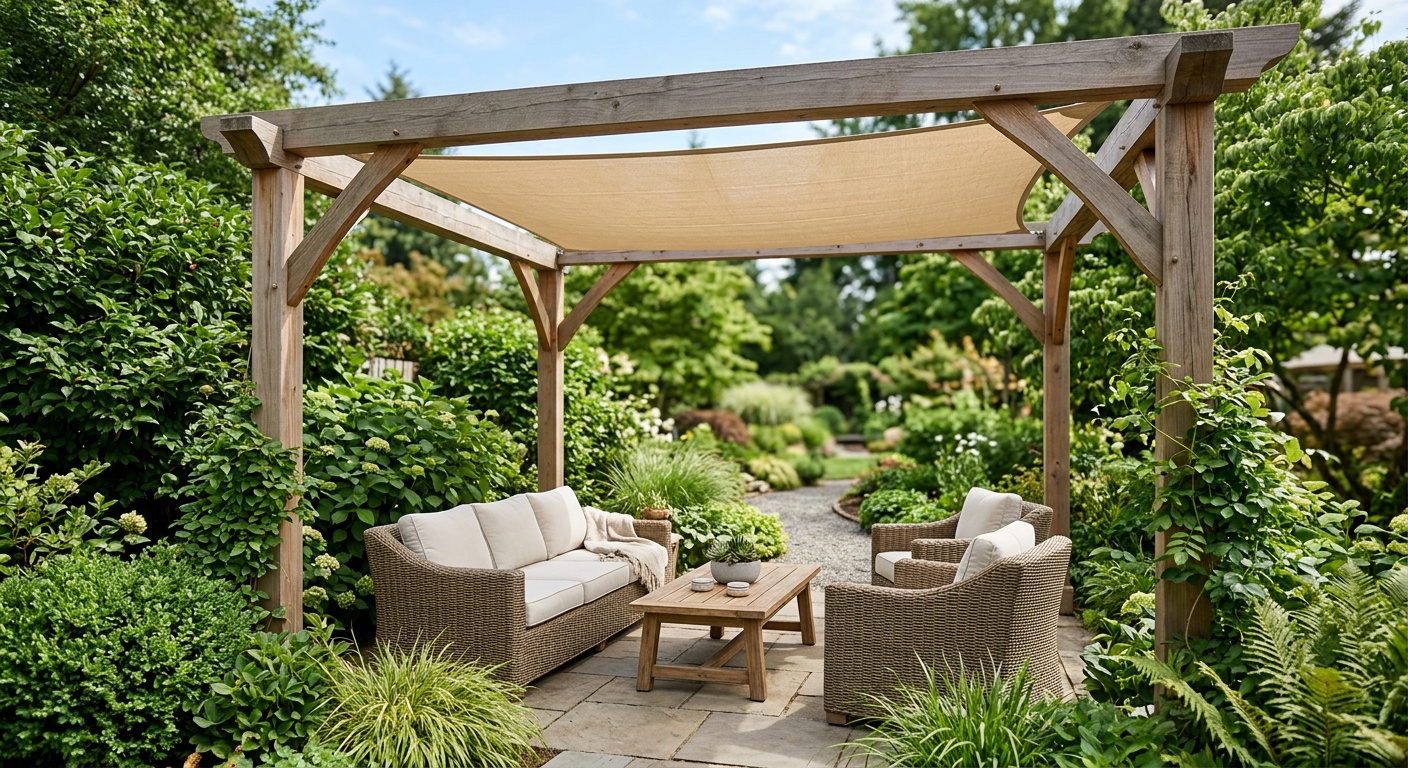
- Pergolas: Open-beam structures that provide partial shade. Ideal for climbing plants like wisteria or grapevines to increase coverage naturally over time. Cost range: $3,000–$12,000 installed.
- Solid-Roof Patio Covers: Attached or freestanding structures with aluminum, polycarbonate, or wood roofing panels. Offer full rain and sun protection. Cost range: $8,000–$30,000+.
- Gazebos: Four or six-sided freestanding structures, excellent for creating a defined outdoor room. Best for larger backyards. Cost range: $5,000–$20,000.
- Louvered Pergolas: A 2024–2026 trend explosion — motorized louvers let you control shade levels and airflow in real time via smartphone app. Cost range: $10,000–$40,000.
Semi-Permanent and Modular Shade Solutions
These are the sweet spot for renters, budget-conscious homeowners, or those who want flexibility to reconfigure their outdoor space seasonally. They’ve seen a massive surge in quality improvements in recent years, with commercial-grade materials now available in consumer products.
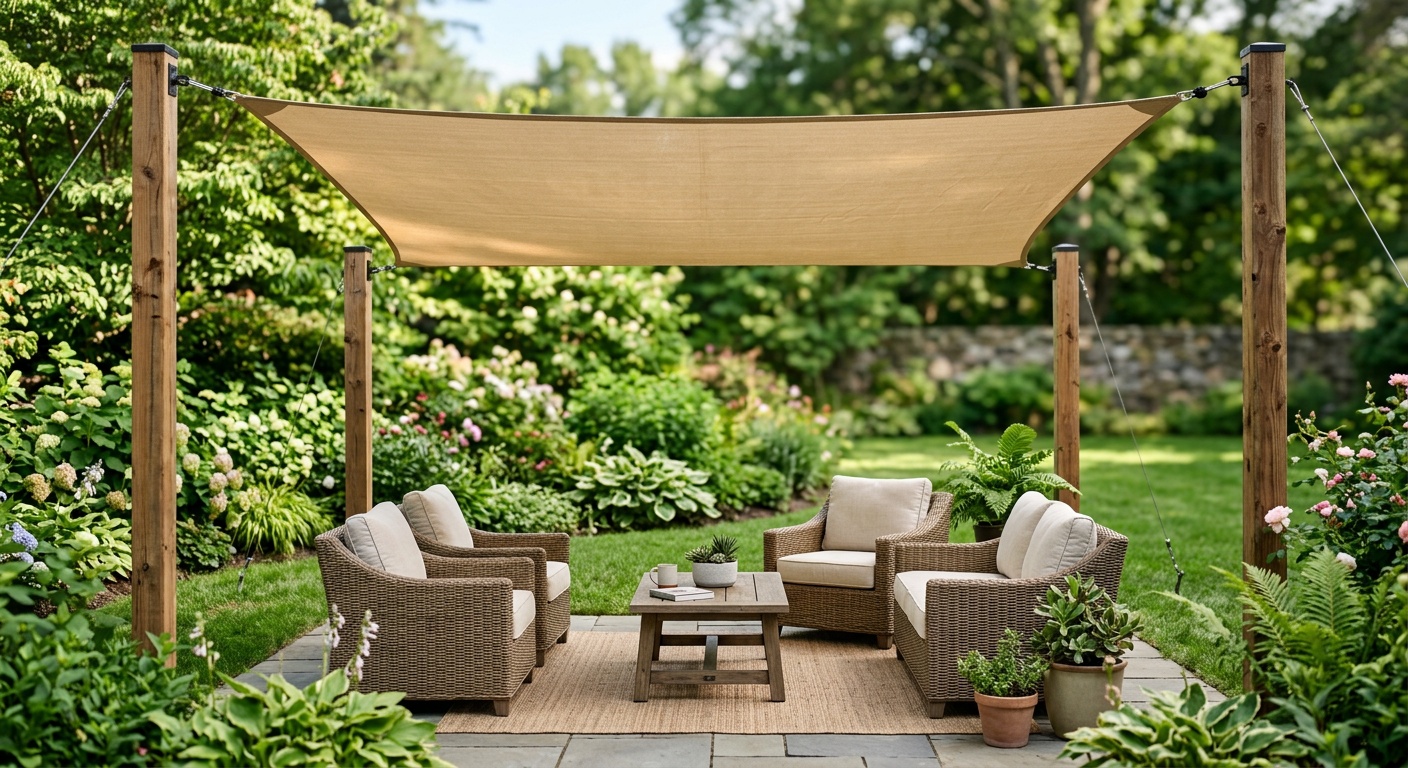
- Shade Sails: Tensioned triangular or rectangular fabric panels anchored between posts or existing structures. Extremely versatile and visually striking. Cost range: $150–$1,500 depending on size and material quality.
- Retractable Awnings: Motor-driven fabric awnings attached to your home’s exterior. Great for patios adjacent to the house. Cost range: $1,500–$8,000 installed.
- Pop-Up Canopies: Portable, quick-deploy structures for temporary shade. Best for occasional use or multi-use outdoor areas. Cost range: $80–$500.
- Umbrella Systems: Cantilever and base-weighted umbrellas offer flexible positioning without anchoring. Premium models now include UV-blocking fabrics rated UPF 50+. Cost range: $200–$3,000.
Living Shade: The Eco-Forward Approach
In 2026, with sustainability at the forefront of home design conversations, living shade structures are gaining serious traction. Trellises covered in fast-growing vines, strategically planted trees, and green walls using drought-resistant climbing plants can create dense, beautiful shade canopies while improving local biodiversity and air quality.
- Best fast-growing shade trees for 2026: Crape Myrtle (heat-tolerant), Tulip Poplar, and the increasingly popular Desert Willow for arid climates.
- Top climbing plants for shade structures: Wisteria, Trumpet Vine, Star Jasmine, and Bougainvillea (in warm climates).
DIY vs. Professional Installation: Honest Cost Comparison
One of the most common questions readers ask is: “Should I build it myself or hire someone?” The honest answer depends on three factors — your skill level, the complexity of the structure, and your local permit requirements.
| Structure Type | DIY Cost (Avg.) | Professional Cost (Avg.) | Permit Required? | Skill Level Needed |
|---|---|---|---|---|
| Shade Sail (3-point) | $200–$600 | $800–$2,000 | Rarely | Beginner |
| Freestanding Pergola | $1,500–$4,000 | $5,000–$12,000 | Often Yes | Intermediate |
| Retractable Awning | $900–$3,000 | $2,500–$8,000 | Sometimes | Intermediate |
| Solid-Roof Patio Cover | $3,000–$8,000 | $10,000–$30,000 | Almost Always | Advanced |
| Louvered Pergola | Not Recommended | $12,000–$40,000 | Yes | Professional Only |
Pro Tip: Always check your local municipality’s building code before starting any permanent structure. In 2026, many jurisdictions have updated their outdoor structure permit thresholds — some now require permits for structures over 100 square feet, while others start at 200. A $50 permit check can save you a $5,000 demolition order.
Step-by-Step: Building Your Own Shade Structure
Let’s get practical. We’ll walk through building a freestanding shade sail installation — the most achievable DIY project for beginner-to-intermediate homeowners that delivers genuinely impressive results.
Planning and Positioning: The Foundation of Good Shade
Before you buy a single bolt, spend time observing your backyard at different times of day. The sun’s path in your specific location determines everything about your shade structure’s effectiveness.
- Map your sun exposure: Note where shade is needed most between 10 AM–4 PM (peak UV hours). Use a free sun-tracking app like Sun Surveyor or SunCalc for your specific GPS coordinates.
- Measure your target zone: Identify the area you want shaded (seating area, play zone, garden beds). Add 20% to your measurements for overhang coverage.
- Identify anchor points: Shade sails need 3–4 anchor points. These can be existing structures (house walls, fence posts) or new posts you install. Anchor points should be 12–18 inches taller than the desired sail height to allow proper tension angles.
- Calculate your sail size: Sails work best when the anchor points form a roughly equilateral triangle or balanced rectangle. A 16’x16′ sail typically covers a 10’x10′ effective shade area accounting for angle.
Materials Shopping List for a Standard 3-Point Sail Installation
- 1 commercial-grade HDPE shade sail (minimum UPF 50 rating — look for 185 GSM fabric weight or higher)
- 3 galvanized steel 4″ x 4″ posts (10 feet each) OR connection hardware for wall/fence mounting
- Concrete (80 lb bags — 2 per post hole for 3-post installation)
- Heavy-duty turnbuckles (rated 800 lb minimum — do not cheap out here)
- Stainless steel D-rings or snap hooks (304 or 316 grade marine stainless)
- 3/8″ galvanized wire rope or heavy-duty UV-resistant rope
- Post cap hardware
- Tools: post hole digger or auger, level, measuring tape, wrench set, drill
Installation Steps:
- Mark your post locations and dig holes 24–36 inches deep (below your local frost line).
- Set posts in concrete, check plumb on all axes, and brace temporarily. Allow 48–72 hours cure time.
- Attach D-ring hardware to post caps and wall anchor points.
- Connect wire rope between attachment points.
- Attach sail corner hardware to wire rope connections.
- Tension using turnbuckles progressively — alternate corners to maintain even distribution. Proper tension eliminates pooling and reduces wind stress damage.
- Final inspection: the sail should feel drum-tight with no visible sag at center.
Total installation time: 1–2 weekends for a first-time DIYer.
Best Materials for Durability and UV Protection
Material selection is where many DIYers make costly mistakes — choosing aesthetics over performance. Here’s what actually matters in 2026’s heat conditions:
Fabric and Shade Cloth
HDPE (High-Density Polyethylene) is the current gold standard for shade sail fabric. It allows air circulation (critical for cooling), blocks 90–98% of UV rays at UPF 50+ ratings, and resists mold and mildew without chemical treatment. Avoid cheaper PVC shade cloth — it traps heat rather than mitigating it, defeating the purpose.
Structural Framing Materials
- Powder-coated aluminum: Best corrosion resistance, lightweight, modern aesthetic. Ideal for coastal environments.
- Pressure-treated lumber (ACQ or CA treated): Cost-effective and classic. Ensure it’s rated for ground contact if posts are buried. Cedar and redwood offer natural rot resistance without chemical treatment.
- Galvanized steel: Maximum strength for heavy load applications. Heavier and requires more work to cut and drill, but unmatched durability.
Roofing Panel Options for Solid-Cover Structures
- Polycarbonate panels (tinted): Allow diffused light while blocking UV. Impact-resistant and lighter than glass. Heat gain is moderate.
- Corrugated metal (Colorbond or Zincalume): Excellent rain protection, but can radiate heat. Best combined with insulation batts on the underside.
- Insulated aluminum roofing panels: The premium choice for solid covers — they include a foam core that dramatically reduces radiant heat transfer downward. Worth the extra investment if budget allows.
Real Backyard Transformations: Case Studies
Case Study 1: The Phoenix Desert Dilemma — From Unusable to Livable
In 2025, landscape designer Maria Chen documented a project for a family in Scottsdale, Arizona, where summer temperatures regularly exceed 115°F. Their 400-square-foot concrete patio had been essentially abandoned from May through October for three years. The budget? $6,500.
Maria’s solution combined two overlapping 16’x20′ HDPE shade sails (one solid, one breathable mesh) mounted at different heights to create layered cooling — the upper solid sail blocked direct radiation while the lower breathable layer diffused residual heat and caught afternoon breezes. She angled the primary sail 15 degrees off horizontal toward the afternoon sun’s path, maximizing coverage during the 2–5 PM peak heat window.
Result: Measured surface temperature under the structure dropped from 148°F (ambient concrete at peak) to 89°F — a 59-degree reduction. The family reported using the space daily throughout the 2025 summer. Total material cost came in at $4,200; labor $2,300.
Case Study 2: The Urban Balcony-Adjacent Backyard — Small Space, Big Impact
Chicago homeowner James Okafor had a different challenge in 2026: a 15’x18′ backyard with no existing structures to anchor a shade sail, shared fence lines he couldn’t drill into, and a landlord-imposed restriction on any permanent installations.
His solution: a modular system of three weighted 6-inch diameter galvanized steel posts set in commercial-grade rubber ballast bases (each weighing 150 lbs when filled with sand). A triangular 12’x12’x16′ shade sail was tensioned between them. The entire system assembled and disassembled in under two hours — fully portable with no ground penetration. Total cost: $890, including the quality shade sail.
“I was skeptical that something without concrete footings would handle Chicago summer storms, but the ballast system genuinely worked. The key was using proper marine-grade tension hardware and keeping the sail properly tensioned at all times,” James reported on a home improvement forum in June 2026.
Common Challenges and How to Overcome Them
Challenge 1: Wind Damage and Structural Failure
The most common complaint about shade sails and canvas structures is wind damage. This almost always comes down to improper tensioning and inadequate hardware. The fix: invest in commercial-grade stainless steel hardware regardless of what else you economize on. Turnbuckles should be rated for at least 800 lbs. Take sails down during storm warnings — most quality sails have removable clip systems for exactly this purpose. Never leave a shade sail up during winds exceeding 60 mph.
Challenge 2: Rain Pooling and Drainage
Flat or near-flat shade structures collect water rapidly, leading to structural strain and fabric degradation. The fix: install every shade sail and fabric cover with a minimum 30-degree angle of pitch toward a drainage direction. Ensure anchor points at the drainage-side corners are lower than the upwind corners. For solid-panel patio covers, install proper guttering and downspout systems — directing runoff away from your home’s foundation.
Challenge 3: Heat Reflection from Hard Surfaces
Here’s a challenge most guides overlook: even with excellent overhead shade, hard surfaces like concrete and pavers radiate stored heat upward well into the evening, making the space uncomfortable. The fix: combine your overhead shade structure with ground-level interventions — permeable paving materials that don’t absorb heat as intensely (light-colored travertine, composite decking over air gaps), outdoor rugs in light colors, or container gardens that cool surrounding air through transpiration. A strategic combination of overhead shade and surface temperature management can reduce the heat-island effect in your backyard by up to 30–40%.
Shade Coverage Effectiveness by Structure Type
This visualization compares the approximate shade effectiveness (UV blocking + ambient temperature reduction) of common structure types under peak summer conditions:
Shade Effectiveness Score (out of 100)
*Scores reflect combined UV blocking rate + ambient temperature reduction at ground level under peak summer conditions (100°F+ days).
Frequently Asked Questions
Do I need a building permit for a shade sail or pergola?
It depends heavily on your local jurisdiction and the size of the structure. As a general rule in 2026, most municipalities across the United States require permits for any permanent structure over 100–200 square feet or any structure attached to your home. Shade sails that are tensioned between freestanding posts and not attached to the house often fall below the permit threshold, but this varies significantly by city and county. Always confirm with your local building department before breaking ground — a quick phone call or online permit portal check takes minutes and can save thousands. In many areas, non-permitted structures must be removed at the homeowner’s expense if discovered during property sales or neighbor complaints.
What is the most cost-effective shade solution for a large backyard area?
For covering large areas (400 square feet or more) on a budget, layered shade sail systems consistently offer the best cost-per-square-foot protection. A combination of two large HDPE shade sails at different heights — one 20’x20′ primary sail and one 16’x16′ supplementary sail — can cover roughly 500+ square feet of effective shade for $800–$2,000 in materials, including posts and hardware. This approach also allows strategic positioning to track the sun’s seasonal path more effectively than a single large fixed structure. Living shade solutions (fast-growing vines on trellises) offer the best long-term cost efficiency but require 2–4 years to reach full coverage.
How do I prevent my shade structure from becoming a wind trap during storms?
Wind management is the most critical safety consideration for any shade structure. For shade sails, the primary defense is proper tensioning combined with the ability to quickly remove the sail fabric in advance of major storms. Invest in hardware with easy-release clip systems rather than permanent tie-offs. For permanent structures like pergolas and solid-roof covers, wind loading must be calculated at the engineering stage — most building codes require this for structures in wind zones above 90 mph. Powder-coated aluminum framing with engineered footings has proven most resilient in high-wind testing. Avoid large solid-panel structures in regions prone to hurricane or severe thunderstorm activity without verified engineering approval. Louvered pergola systems actually have a distinct advantage here — open louvers allow wind to pass through, dramatically reducing structural wind load compared to solid roofs.
Your Cool Backyard Blueprint: Next Steps
You’ve now got the strategic map — the question is where you start on it. Shade structure creation, like any meaningful home improvement project, rewards those who plan deliberately and act decisively. Here’s your practical implementation roadmap for the coming weeks:
- ✅ Week 1 — Assess and Map: Spend three consecutive days photographing your backyard at 9 AM, 12 PM, and 3 PM. Identify your highest-priority shade zones. Download a sun-tracking app and map your specific solar exposure pattern by date and time.
- ✅ Week 2 — Research and Budget: Contact your local building department to confirm permit requirements. Get at least two contractor quotes for comparison even if you plan to DIY. This calibrates your material cost expectations against professional pricing.
- ✅ Week 3 — Materials and Design: Finalize your structure choice based on budget, skill level, and permit requirements. Order quality materials — particularly hardware — from reputable suppliers. Don’t compromise on turnbuckles, anchors, or fabric GSM rating.
- ✅ Weekend 4–5 — Build and Refine: Execute your installation over two weekends to allow proper cure time for concrete footings. Document your process for future adjustments. Evaluate performance during your first hot day and refine angle or tension as needed.
- ✅ Ongoing — Combine Strategies: Layer your overhead shade with ground-surface improvements and strategic container planting for compounding cooling effects through the remainder of the summer.
The broader trend here is significant: as climate patterns continue their trajectory through 2026 and beyond, outdoor livability engineering will become a standard component of residential design rather than an optional upgrade. The homeowners investing in thoughtful shade infrastructure today are building resilience into their properties and their quality of life simultaneously.
Here’s the question worth sitting with: What would your backyard become if you weren’t limited by the heat? A morning coffee retreat, an evening entertainment space, a garden that actually grows? That space is entirely achievable — and now you have the blueprint to build it. The only thing standing between you and a genuinely cool summer backyard is the decision to start.
Article reviewed by Linda Phillips, Senior Architectural Consultant & Renovation Project Manager, on July 15, 2026